Posted by vinyl frog on November 9, 2022
DIY Car Wrap Step By Step Guidelines
Vinyl wraps are the latest fad in the automotive industry. Car enthusiasts all over the world love to revamp the appearance using vinyl wraps in different colors and finishes. Some go an extra length and make it a DIY project. It is for such aficionados we bring a detailed guide on how to vinyl wrap your automobile accompanied with after-care advice.
Required Tools For Vinyl Wrapping
When you decide on embarking upon the tedious journey of vinyl wrapping your vehicle, it is imperative that the following tools kit are gathered for a smooth ride:
- The premium quality vinyl of your choice
- Heat gun
- Squeegee
- Lint-free, microfiber cloth
- Blade
- Cleaning agent
- Tape Measure
- Gloves.
- Infrared thermometer
- An extra pair of hands. You cannot do it alone on your own. You will need a helper to work with you
Step-By-Step Guide To DIY Vinyl Wrapping
Once you have all the necessary tools, you are all set to start the process:

Car Wraps - Vinyl Car Wraps | Vinyl Frog
Step 1: Make A Good Plan
This is a must-do before covering your automobile with vinyl. Research and buy premium quality vinyl. Do not compromise on this as the success of your project will depend upon it. The greater the quality of the vinyl, the longer it will endure. Though the variations are not visible to the naked eye at first, low-quality vinyl will begin fading and bubbling over time.

The place where you will wrap the car is also important. You cannot do it out in the open where dust can settle and in direct sunlight. You should have a garage with ample space and a moderate temperature to park the car during the process. If you have bought the vinyl films you have to be careful how you store them. You cannot expose them to sunlight or place them near a heater or radiator. Keep the rolls vertical in a safe place.

Best Car Wraps - Buying Guide 2024
Step 2: Measure The Dimensions
Each section of the car that is to be wrapped is measured separately. Always leave extra three inches to all sides as you will get this much extra material which will help in pulling the sheet and tucking it in the edges. Start measuring from the hood then fender, and then the driver and passenger sides. In the back fender area, give an extra 12 inches instead of 3.

When measuring the bumper, start from the back one instead of the front because it is wider. Don’t forget to give an extra three inches of bleed. Write down all the measurements. Now it’s time to cut the vinyl panels. You'll need a lot of additional vinyl. Since you are doing it yourself, you might make mistakes. Even specialists make mistakes, and you won't be able to reuse the vinyl film. There should also be enough excess material to tuck the edges. We can't stress this enough: get more vinyl wrapping than you think you'll need!
Step 3: Clean And Prepare The Vehicle
This is a critical stage in ensuring the successful completion of your project. Your vehicle must be clear of any filth, dust, debris, and flaws. Remove any residue from the automobile using a degreaser. After the degreaser, apply a cleaning solution and clean with a lint-free cloth on the same area.
The hard to reach parts of the car are the most neglected when it comes to cleaning.
Hence pay special attention to the ridges, grooves and edges as they may have the most dirt and grime. The easiest way to clean them is to take a squeegee and wrap a lint free cloth over it. Swipe the areas until they are completely clean. This needs patience and perseverance.
Once your vehicle is clean, dry it completely otherwise the adhesive on the vinyl will not work properly. Make certain that your workspace is clean. Sweep your garage before cleaning your automobile to ensure that no particles land back onto the car.

Wear a pair of gloves and rub your fingertips over the surface of your automobile once it appears clean. Can you detect any flaws? Vinyl, like paint, will reveal every crack, or dent on the vehicle. If you don't have a smooth surface, you may need to perform some bodywork. Your car should be completely free of dents before you start the process.
Step 4: Cut The Vinyl Sheets To Size
Cut the vinyl film according to the measurements that you have taken before. When you roll out the film for cutting, the liner side should face down. Now measure it according to what you have noted and mark it on the film using a dry erase marker. Now cut the panel. Cut the other panels in the same manner and keep them in a safe area where they do not get contaminated in any manner. Better put them in the car. Label each panel with a dry erase marker stating which part it belongs to so as not to get confused later on.

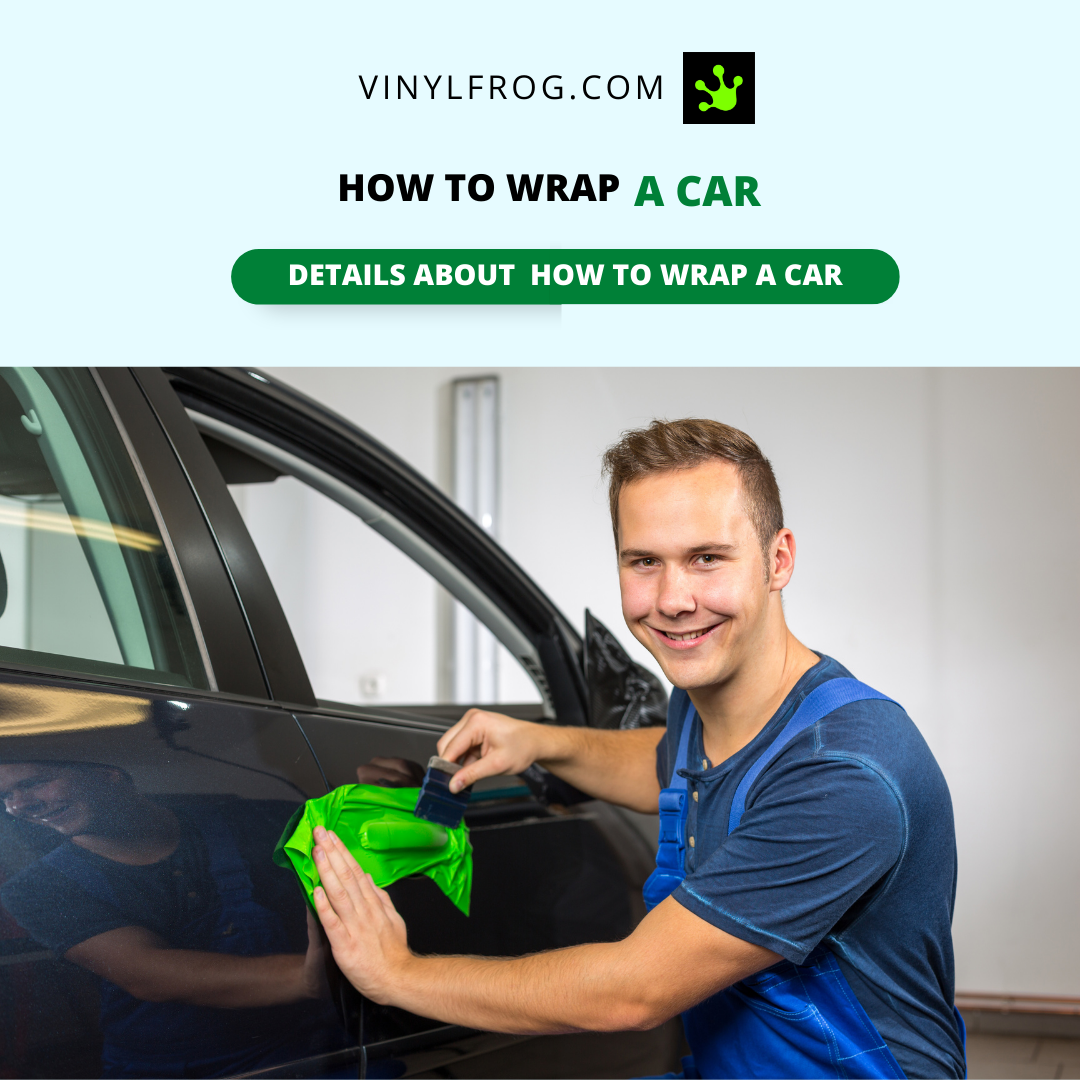
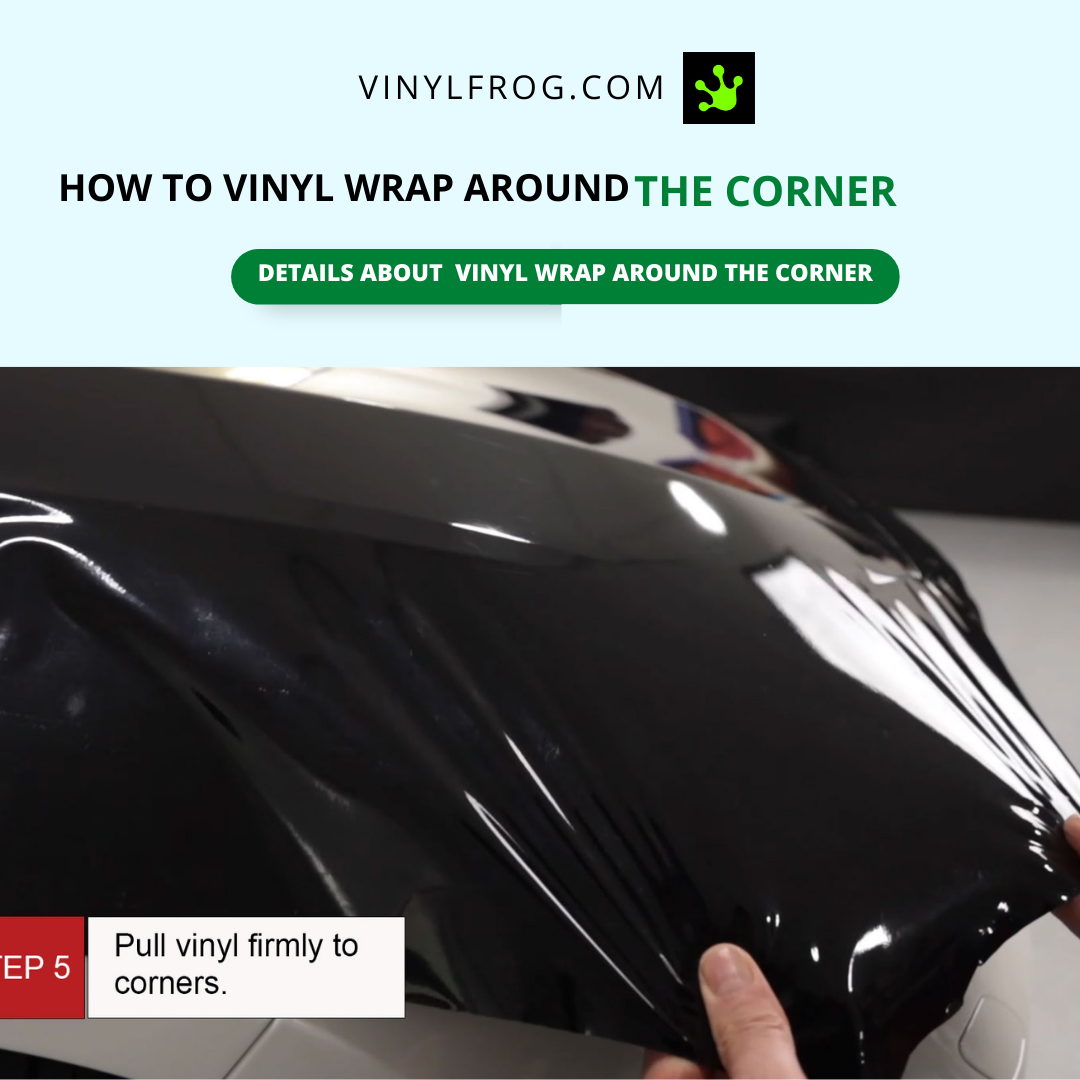
Step 5: Apply The Vinyl On Your Car
Verify that the surface is still clear of any dust or debris that may have accumulated as you were taking measurements. Have a helper available to assist with the application. It is easier to manage the vinyl with two pairs of hands. Ensure that your hands are completely clean and dry before removing the backing from your cut piece.
When the backing is removed, the adhesive becomes sticky but does not attach until pressure is applied. Start with the flat areas of the car first such as the hood. These are not as time consuming and it is better to get them out of the way first before moving on to the more complex parts of the car. Take help for positioning the panel and drape the film over the part. Begin in the center and start working your way out to the edges. Use a squeegee to push out trapped air from beneath the film. Apply moderate pressure. Once you swipe an area with the squeegee, your next swipe should overlap the first one a bit to ensure all air has been removed.
How To Vinyl Wrap A Car
When putting the film on a curved surface, some folds and creases are bound to appear. When this happens, you will have to apply the heat a bit to make the film conform to the curve. The folds will eventually reduce to ‘crow’s feet’. At this point, slightly lift the film and apply heat gently then re-paste it on the surface. Your surface should be so smooth that it should not give the impression of being wrapped. The finish should be seamless making the vinyl look like an exquisite paint job.
Step 6: Remove Creases And Bubbles
Remove creases and bubbles from the applied film with a squeegee. Maintain a 45-degree angle with the squeegee. Begin in the center and work your way outward toward the corners to eliminate any air bubbles in the vinyl. If the surface you're covering is curved, slide the squeegee in an arc form downwards over the curves for a smoother application.
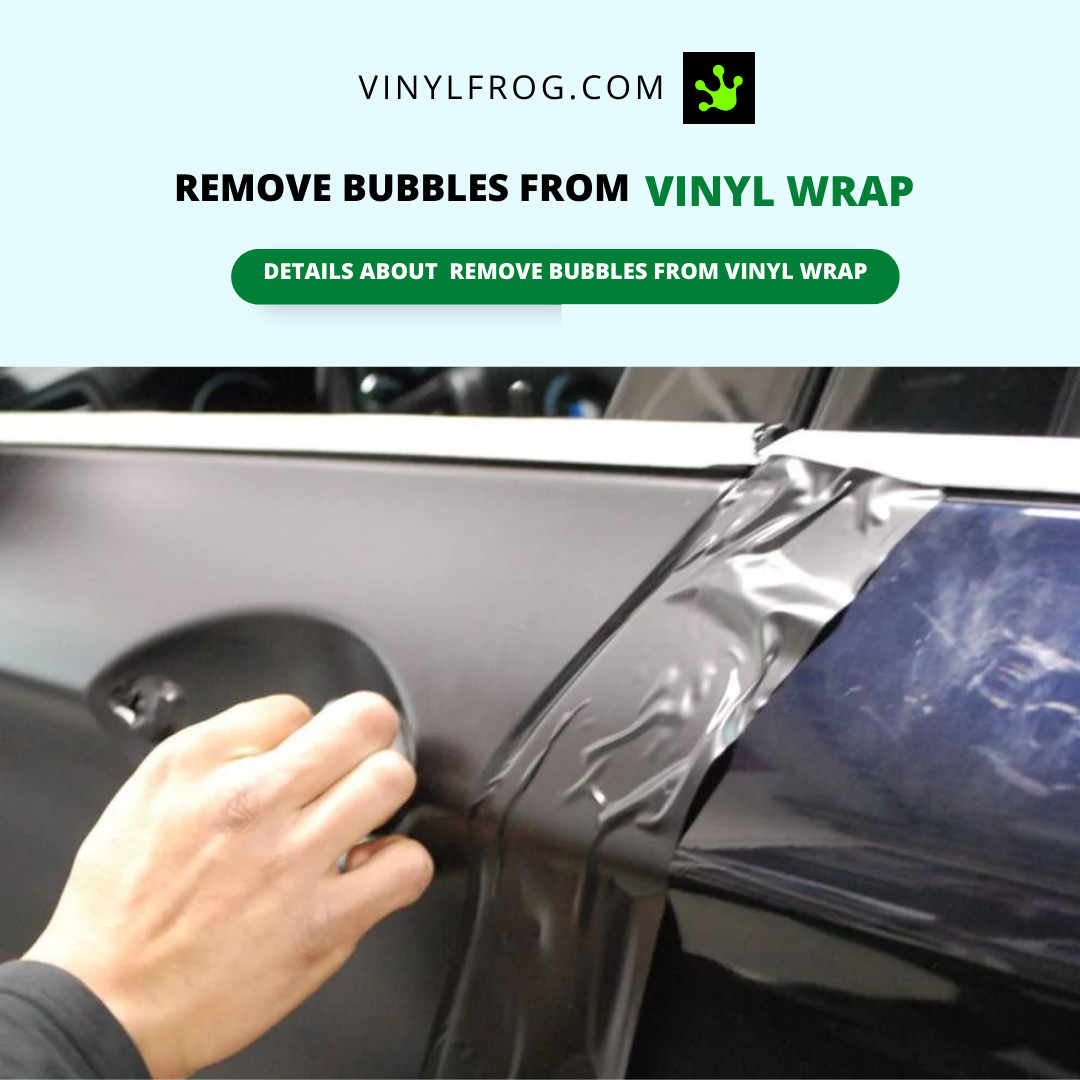
How to Remove Bubbles from Vinyl Wrap?
Check that your squeegee has both a hard and a felt side. The hard side can harm the vinyl and should only be utilized for cramming it into cracks or difficult-to-reach spots. To get into the harder-to-reach areas, use a heat gun to provide heat. Stretch or adjust the vinyl as needed to fit over curves. Lift the vinyl and heat it with a heat gun making it more pliable. This makes shaping around curves and corners simpler.
Step 7: Remove The Excess Vinyl Wrap
One thing to keep in mind during this stage is that the blade you use to remove the wrap may also harm the paint below. If you cut through the film and damage the automobile, you may be obliged to replace the film and fix the damage before proceeding. Cut the vinyl so that it extends 14 cm beyond the margins of your panel. This excess should be plenty to tuck it around edges and hide any cracks. Always keep the blade away from the car. Due to the complexity involved, if you are new to vinyl wrapping, you should practice on minor sections before wrapping on the body paint.
HOW TO REMOVE CAR WRAP
Step 8: Tucking The Vinyl Edges
You must tuck all your edges once you have completed all your cuts. A decent wrap should not have creases (fingers) or lift. The edges will break if there is excessive strain or stress. If you stretch the vinyl excessively, you may have to remove the entire panel and begin over. To relieve strain on abrupt curves, use a thermometer and a heat gun. Heat the vinyl to around 90°. This softens it sufficiently to aid with wrinkle removal. Overheating the material will cause it to deteriorate.
How To Vinyl Wrap Around Corners – Step-By-Step Guide
Step 9: Secure The Vinyl With A Heat Gun
Once everything is in place, use your heat gun to make the vinyl adhere perfectly. Sweep your heat gun in 6–8-inch (15-20 cm) chunks, trying to ensure the vinyl is well fastened in any crevices or grooves. After post-heating your wrap, allow it to set for a day. This effectively activates the vinyl's adhesive, pasting it securely in place. A decent rule is to heat the vinyl between 200° and 250°F (93° and 121°C), although each vinyl is different. When heating, you may come across a bubble or two. Do not fret as this is pretty common. Just use an air release pen to pop and remove the air with your finger from the bubble.
Things To Look Out For
There are certain points that you should keep in mind while vinyl wrapping your vehicle:
- If you want the wrap to adhere properly, pay special attention to cleaning your vehicle. You can use a mixture of rubbing alcohol and water to do so. Use 10%-15% rubbing alcohol to 85%-90% water mixture.
- Before you apply the wrap, check the film. There should be no discoloration or scratches on it.
- If you have chosen a matte film, check its gloss level. It should be matte all over without any patch of gloss. Invest in a good quality film to avoid this.
- If you are wrapping your car with metallic vinyl, make sure the flakes are all in the same direction otherwise the color of the wrap will look different.
- Do not over stretch the film as this may damage it.
- The correct amount of heat application is highly imperative. Test the film first for heat endurance so as not to damage it.
Wrapping After-Care
Once you have wrapped your vehicle to perfection, it is important to know how to care for your wrap to get the maximum out of it. Following are some of the important tips:
- It is important to keep your wrap clean. Once you have turned your car into a beautiful gem, make sure to wash it with your hands. You cannot send it to an automated car wash. It has to be washed gently.
- Use a mild detergent and a microfiber cloth to wash your vehicle. Dry it with a soft cloth after you have washed it.
- Do not use a jet wash to clean your vehicle. Two buckets of water are enough - one with soapy water and the other with clean water. Tires are to be washed separately.
- Do not use oil-based products and wax on your vehicle
- Do not leave your vehicle in the sun. Always park it in shade
- Keep a spray bottle of alcohol-water mixture in your car with a microfiber cloth for spot cleaning fuel spill, bird droppings or any other contaminant

How To Protect Vinyl Wrap?
Frequently Asked Questions
Final Thoughts
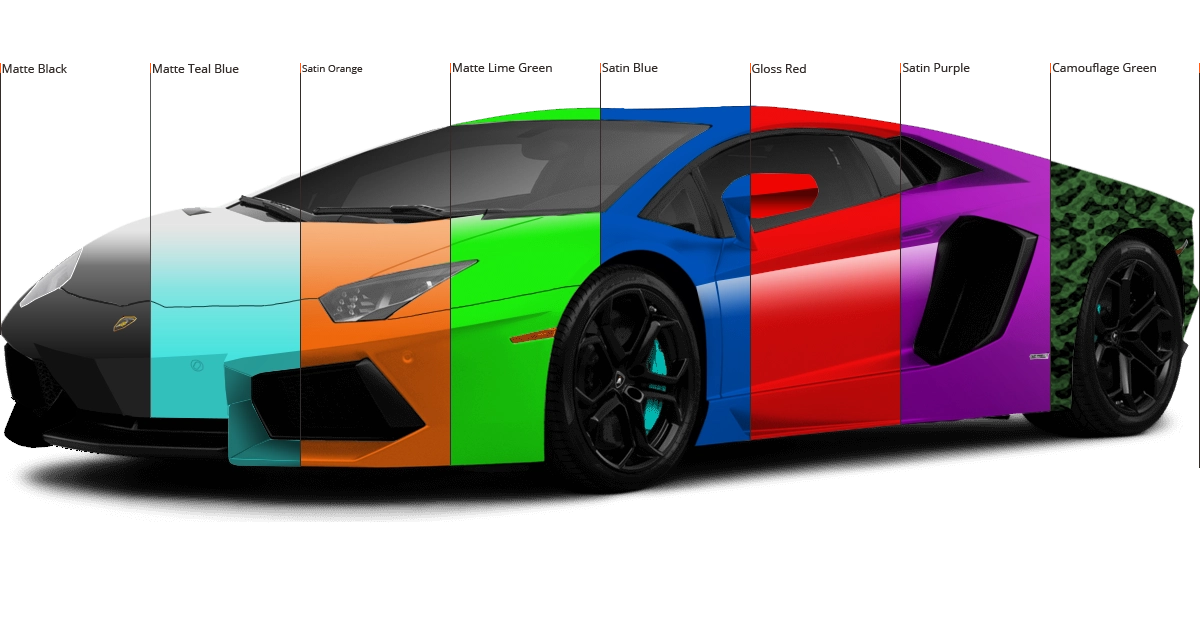
Choose from a traditional glossy or metallic single-colored vinyl wrap for refinement and modern design; the option is yours! High-quality vinyl and suitable application procedures do not harm the paint of your automobile. In fact, it provides a layer of protection that may persist for years. Vinyl wraps are substantially less expensive than a decent paint job. They are extremely adjustable and are among the finest commercial investments. With all of this knowledge on vinyl wrapping your automobile, we feel you can easily do this DIY with the right supplies and expertise.
Related Posts
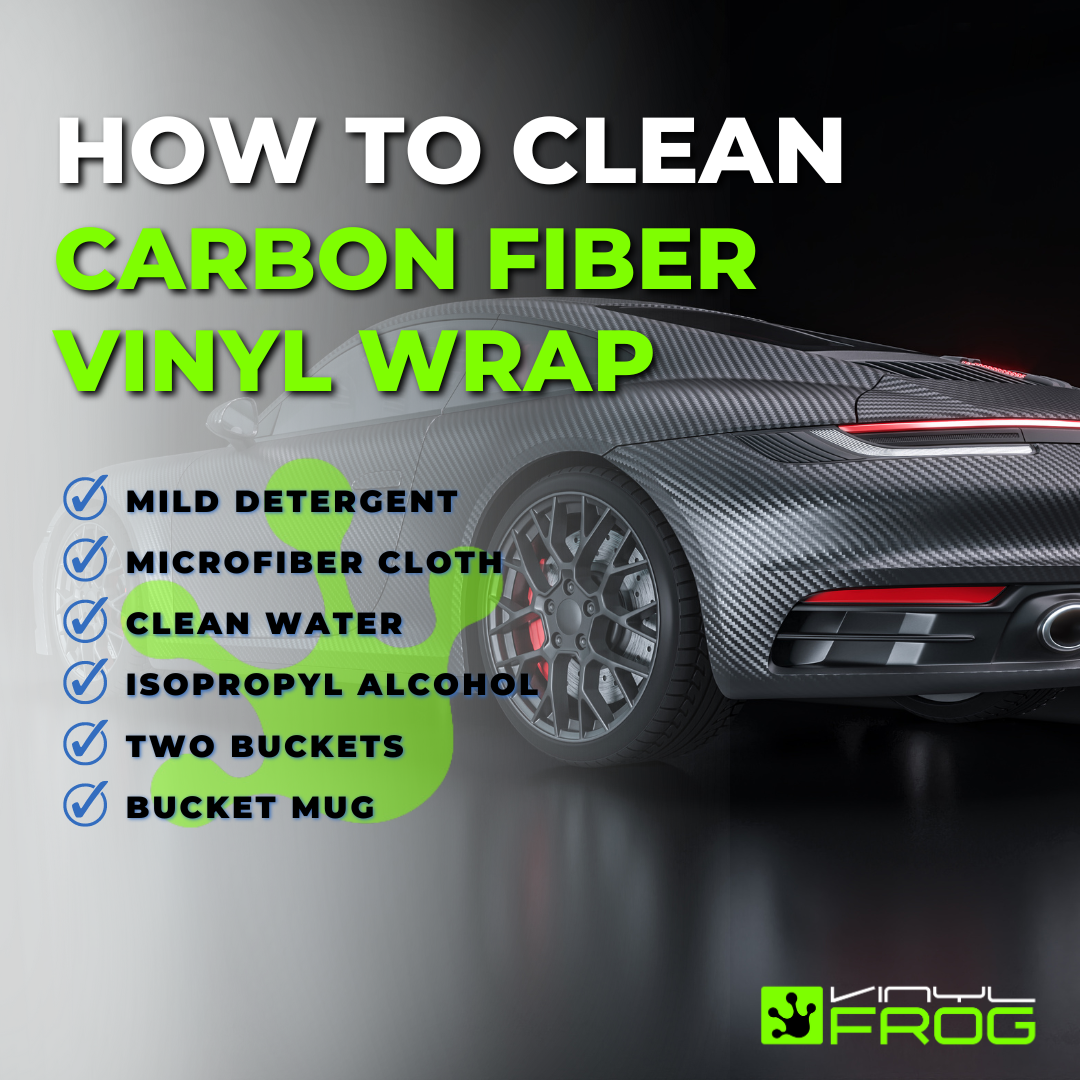
How To Clean Carbon Fiber Vinyl Wrap?
How Long Does A Matte Wrap Last?