Gimp is an open-source image manipulation tool free for every experienced creative and neophyte. It provides many tools to enhance images, and one of the valuable features is the clone tool. The clone tool removes blemishes or problem areas on digital photos. It clones an image or area and “paints over” the blemishes. Another purpose of the clone tool is to replicate curves or patterns. Here’s how to use Clone tool in Gimp.
How to use Clone tool in Gimp
You might need to activate the Clone tool in the Gimp editor. You can do this in two ways. First, click Tools from the menu, select Paint Tools, and click Clone. You can also just click on the Clone tool icon. And finally, press the C keyboard shortcut to access the Clone tool. Here’s a step-by-step guide on how to use the Clone tool in Gimp:
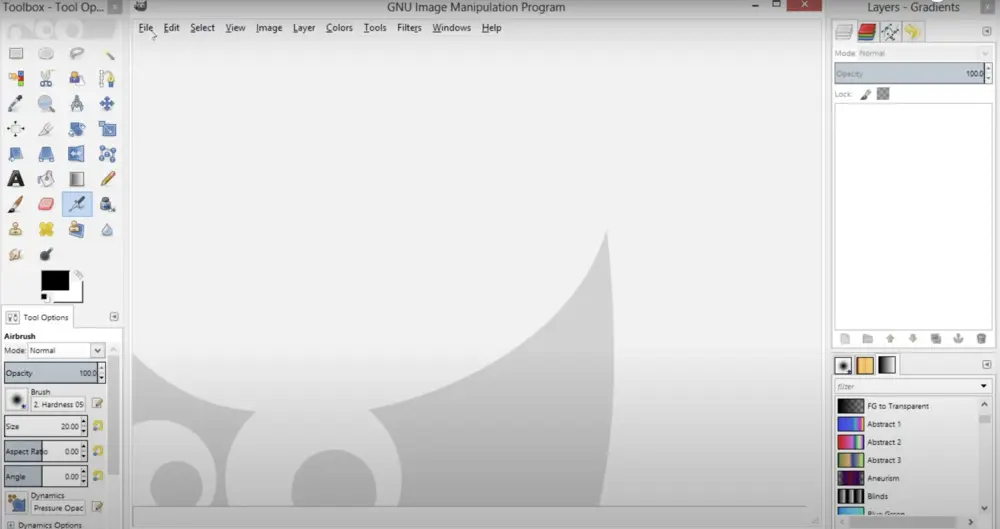
Step 1: Sign up for a free Gimp account, and it will open this editor. Gimp’s editor may look intimidating with many tools on the left toolbar. However, it’s easy to understand and straightforward to use.
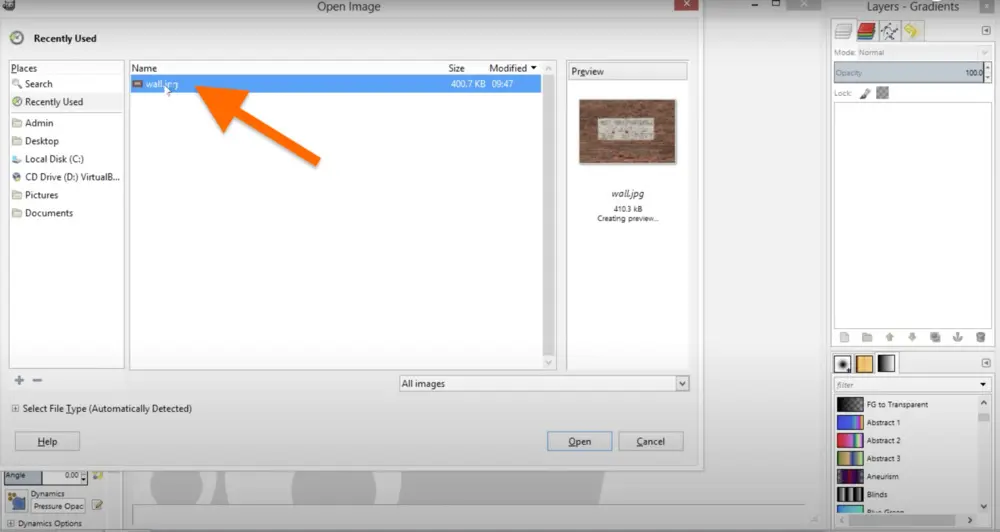
Step 2: Go to the “File” menu and select “Open.”

Step 3: Select the saved file you want to edit by navigating from your computer’s library.
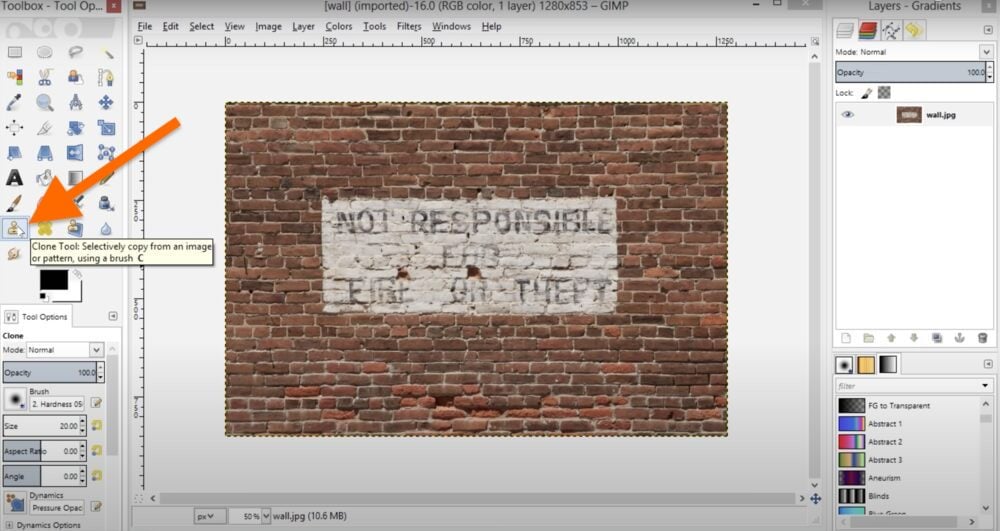
Step 4: Click the “Clone” tool from the toolbar on the left side of the editor. The Clone tool looks like a yellow stamp.
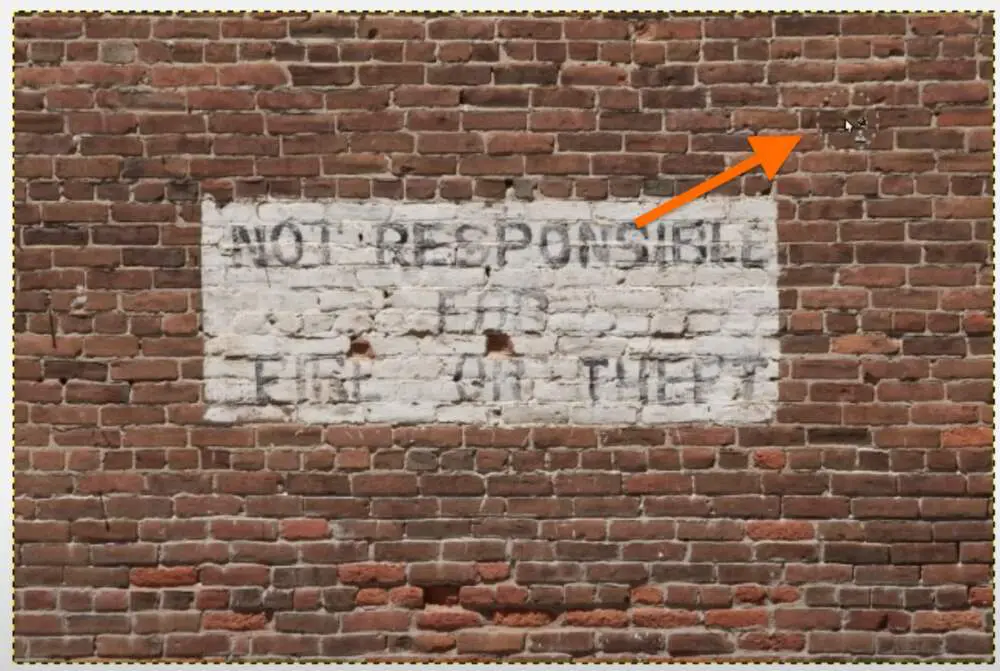
Step 5: Move your cursor to the area or image you want to clone. Your cursor should look like this.
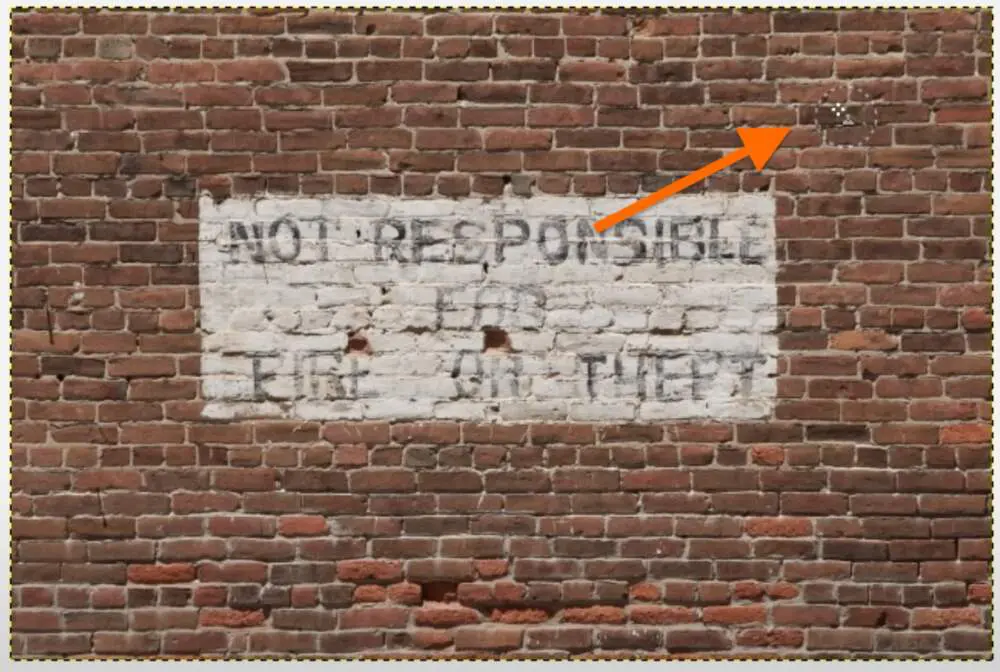
Step 6: Hold the Ctrl key and click the area to set the clone source. Your cursor should look like this. See how it transformed from an arrow to four dots beside the Clone tool icon.
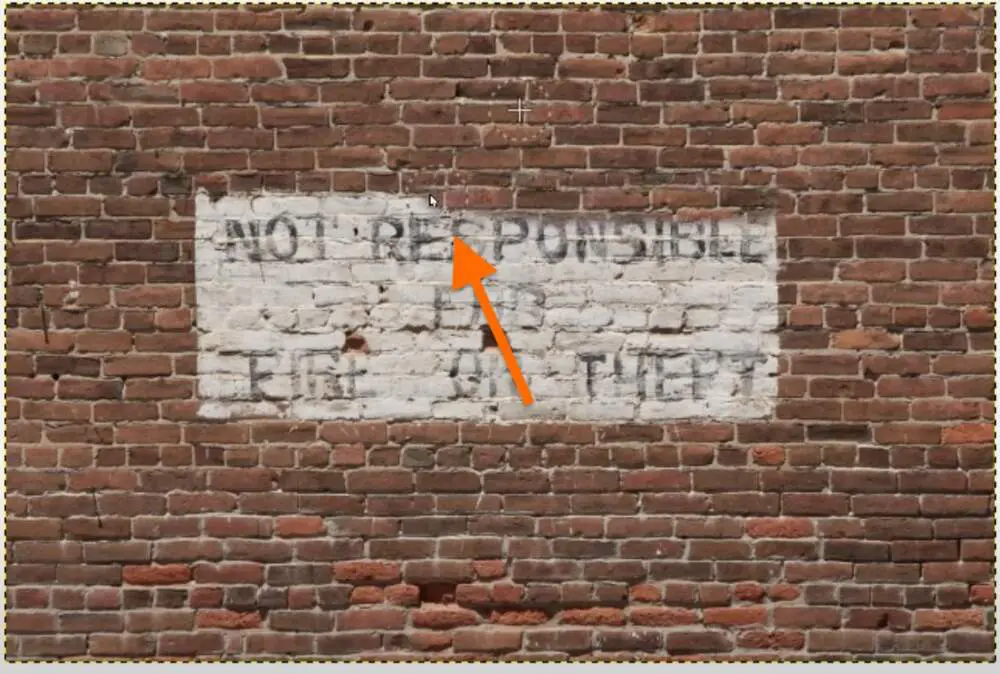
Step 7: Move the Clone tool from left to right or anywhere on the image you want cloned.
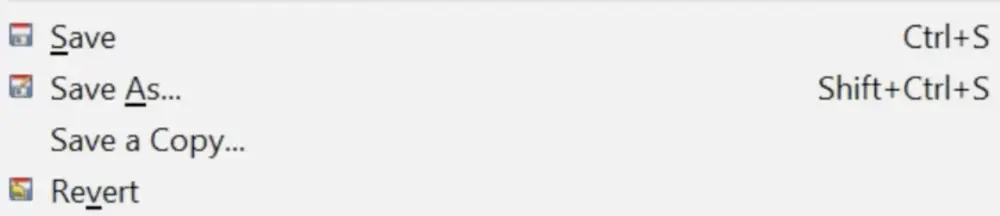
Step 8: If you’re happy with the outcome, save the file by choosing the “File” menu. Choose if you want to Save, Save As, Save a Copy, or Revert. Repeat the process until you’re 100 percent satisfied with the design.
Here’s a video to show you how it’s done:
Tips on using the Clone tool in Gimp
Learning how to use Clone tool in Gimp is easy. However, it helps if you know these tips when using the Gimp Clone tool:
- Selecting your clone source is vital, so Gimp lets you use the Clone tool. If you don’t choose the clone source correctly, Gimp will indicate the void icon with a circle and diagonal line beside the Clone icon.
- The Clone tool is used to clone images and patterns. If cloning images, you must indicate which image you want to clone and copy from. Do this by holding the Ctrl key and clicking on the source image. If you don’t set the source image this way, Gimp shows this symbol, which means you won’t be able to paint using the Clone tool.
- If you’re cloning a pattern, Gimp will copy the pattern by “tiling” it and repeatedly copying it from one side to the other. Cloning from an image is different. The Clone tool stops working if you exceed the clone source’s edges.
- Choosing a clone source with similar edges to the image you’re covering is recommended. Otherwise, the cloned image will stand out for all the wrong reasons.
- Look for a point that runs a perpendicular line to the gradient angle. This way, your cloned image will seamlessly blend with the edges of the clone source. It’s essential to pay close attention to the color and light gradients in your photo.
- It might be more challenging when working with circular color gradients. That said, try to choose the most similar patterns or images that blend with the edges as much as possible.
Say Goodbye to DIY
Say Goodbye to DIY
Try Penji risk-free for 30 days and get all the custom graphics you need


Knowing how to use the Clone tool in Gimp is pretty straightforward. However, there will be some hiccups along the way, such as working with more complex gradients, patterns, or images. Moreover, your non-creative eye might not blend the cloned images or patterns nicely with the clone source you’re covering.
If you don’t want to go through the hassle of using online design editors, hire professional graphic designers. Penji offers unlimited designs created from scratch to ensure you get unique branding and marketing materials.
Get these benefits when working with Penji’s expert graphic designers:
- Unlimited designs and revisions
- Quality designs
- Fast 24 to 48-hour turnaround
- Custom design platform
- Vetted top two percent of graphic designers
- 30-day money-back guarantee
See how to get the most out of a graphic design service, or sign up now for a 15 percent discount on your first month!